Is your PC feeling sluggish, struggling with multitasking, or taking forever to load applications? One of the easiest and most cost-effective ways to breathe new life into your computer is by upgrading its RAM (Random Access Memory). RAM plays a crucial role in how smoothly your system runs, especially when handling multiple tasks or demanding software. Whether you’re a gamer, a content creator, or just looking to speed up everyday tasks, this step-by-step guide will walk you through upgrading your PC’s RAM for better performance.
Why Upgrading RAM Improves Performance
RAM is your computer’s short-term memory, storing data that your system needs to access quickly. When your PC runs out of RAM, it starts using slower storage like your hard drive or SSD, which significantly slows down performance. Upgrading RAM can:
- Speed up multitasking: More RAM allows your PC to handle multiple applications simultaneously without lag.
- Improve gaming and creative workflows: Modern games and software like Photoshop or video editors require ample RAM to run smoothly.
- Reduce load times: Faster access to frequently used data means quicker application launches and file operations.
If your computer frequently freezes or struggles with basic tasks, a RAM upgrade could be the solution.
What You Need Before Upgrading RAM
Before diving into the upgrade process, you’ll need to gather a few essentials:
- Compatible RAM: Check your motherboard’s specifications to determine the type (DDR3, DDR4, DDR5) and maximum capacity of RAM it supports.
- Screwdriver: Most PC cases require a Phillips-head screwdriver to open.
- Anti-static wrist strap (optional): Prevents static electricity from damaging sensitive components.
- Your PC’s manual: Useful for locating RAM slots and understanding any specific requirements.
Once you have everything ready, you’re set to begin the upgrade.
Step-by-Step Guide to Installing New RAM
Step 1: Power Down and Open Your PC
First, shut down your computer and unplug all cables. Place your PC on a flat, stable surface and remove the side panel (usually held by screws). This will give you access to the internal components, including the RAM slots.
Step 2: Locate and Remove Old RAM (If Necessary)
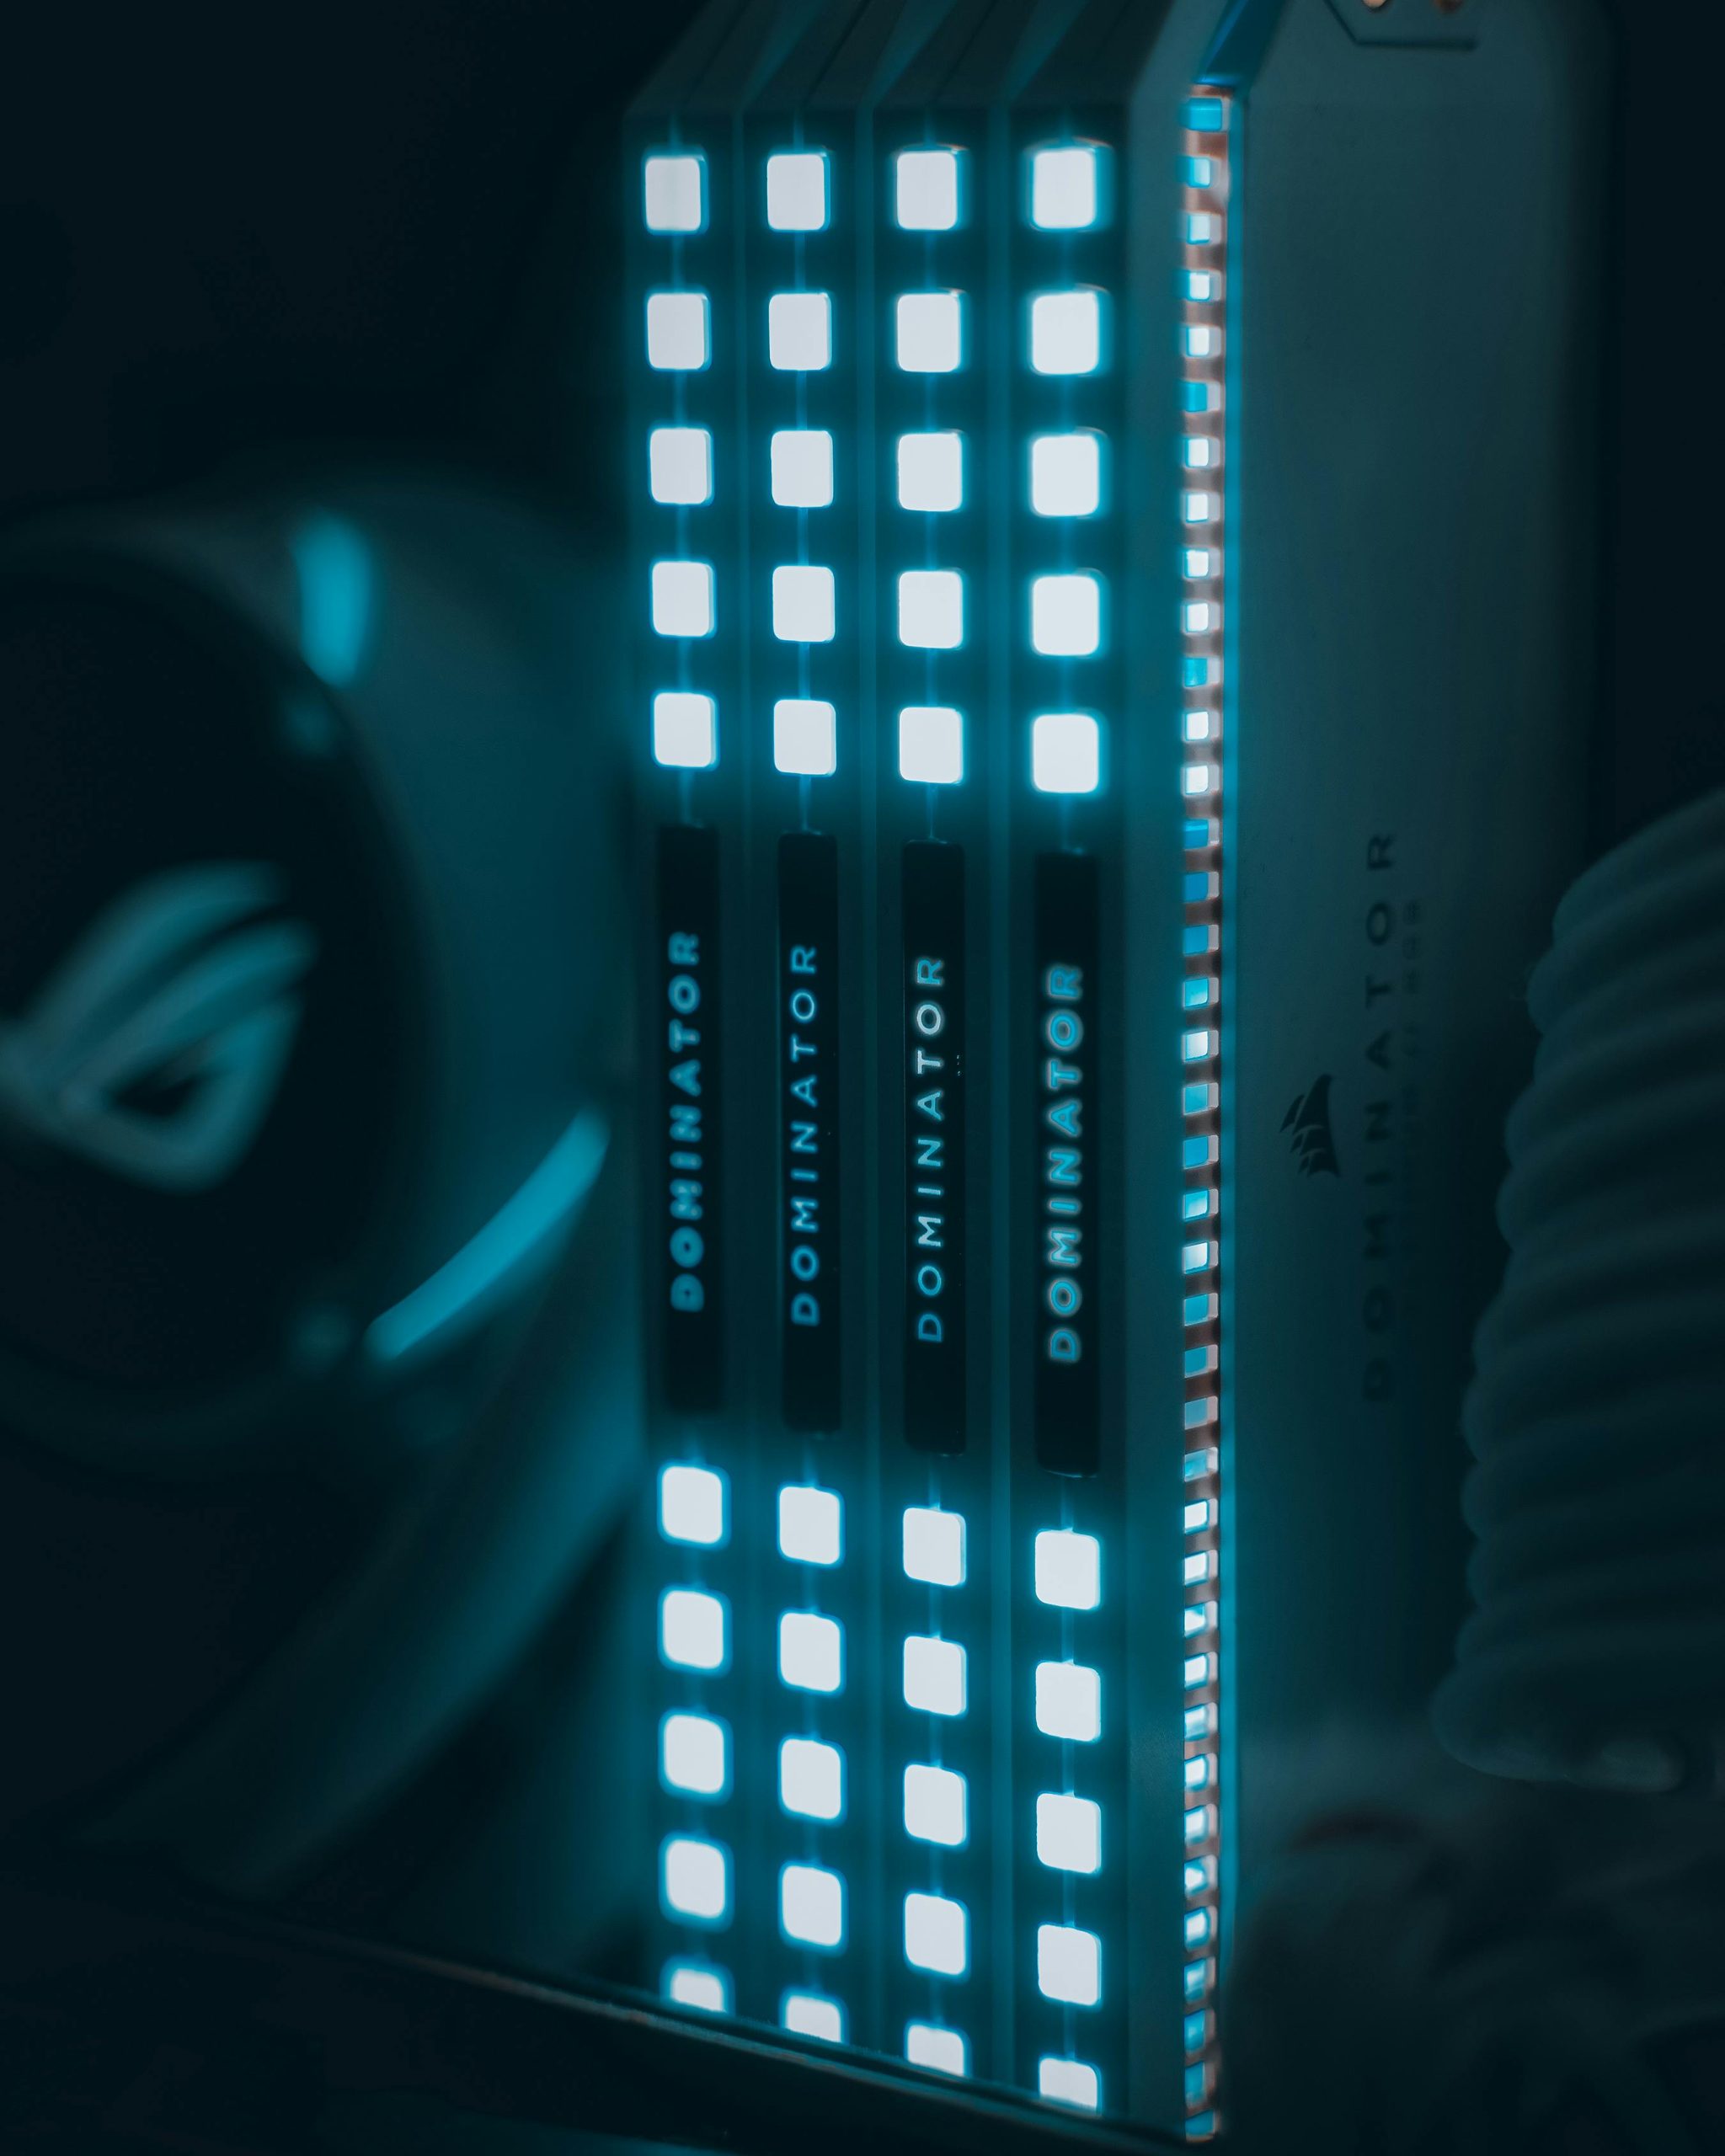
Find the existing RAM modules on your motherboard. They’re long, thin sticks seated in slots near the CPU. To remove them, gently push down on the retention clips at each end of the stick. The RAM should pop up, allowing you to pull it out.
Step 3: Install the New RAM
Align the notch on your new RAM stick with the slot on the motherboard. Firmly press down on both ends until the retention clips snap into place. If you’re installing multiple sticks, refer to your motherboard manual for the optimal configuration (often slots 1 and 3 or 2 and 4 for dual-channel setups).
Step 4: Close Up and Power On
Once the new RAM is securely installed, reattach the side panel and reconnect all cables. Power on your PC and check if the system recognizes the new RAM. You can verify this in your operating system’s settings or BIOS.
Troubleshooting Common RAM Upgrade Issues
Sometimes, things don’t go as smoothly as planned. Here are a few common issues and how to fix them:
- PC won’t boot: Ensure the RAM is fully seated in the slots. Try reseating the sticks or testing them one at a time.
- RAM not detected: Check your motherboard’s compatibility and BIOS settings. Some older systems may need a BIOS update to support newer RAM.
- Blue screen errors: Incompatible or faulty RAM can cause crashes. Test each stick individually to identify the problem.
If issues persist, consult your motherboard’s manual or seek professional help.
Conclusion
Upgrading your PC’s RAM is a simple yet powerful way to enhance performance without breaking the bank. By following this guide, you can confidently install new RAM and enjoy a faster, more responsive computer. Whether you’re gaming, editing videos, or just browsing the web, a RAM upgrade ensures your system keeps up with your demands. Ready to give your PC the boost it deserves? Grab your RAM sticks and get started today!


