Streaming your favorite shows and movies on a Smart TV is convenient, but it can also expose your data to prying eyes. Whether you want to access geo-restricted content, protect your privacy, or avoid ISP throttling, using a VPN on your Smart TV is the solution. This guide will walk you through the steps to install and use a VPN on your Smart TV, ensuring secure and unrestricted streaming.
Why You Need a VPN for Your Smart TV
A Virtual Private Network (VPN) encrypts your internet traffic, making it nearly impossible for hackers, advertisers, or even your ISP to monitor your online activities. Here’s why you should consider using a VPN on your Smart TV:
- Access Geo-Restricted Content: Unblock streaming platforms like Netflix, Hulu, or BBC iPlayer from anywhere in the world.
- Enhanced Privacy: Keep your viewing habits and personal data private from third parties.
- Bypass ISP Throttling: Prevent your internet provider from slowing down your connection during peak streaming times.
- Secure Public Wi-Fi: Protect your Smart TV from vulnerabilities when connected to unsecured networks.
How to Install a VPN on Your Smart TV
Installing a VPN on a Smart TV depends on the model and operating system. Below are the most common methods:
Method 1: Install a VPN App Directly on Your Smart TV
Some Smart TVs, like those running Android TV or Fire TV, support VPN apps directly. Follow these steps:
- Go to the app store on your Smart TV (Google Play Store for Android TV or Amazon Appstore for Fire TV).
- Search for your preferred VPN (e.g., NordVPN, ExpressVPN, or CyberGhost).
- Download and install the VPN app.
- Open the app, log in with your credentials, and connect to a server.
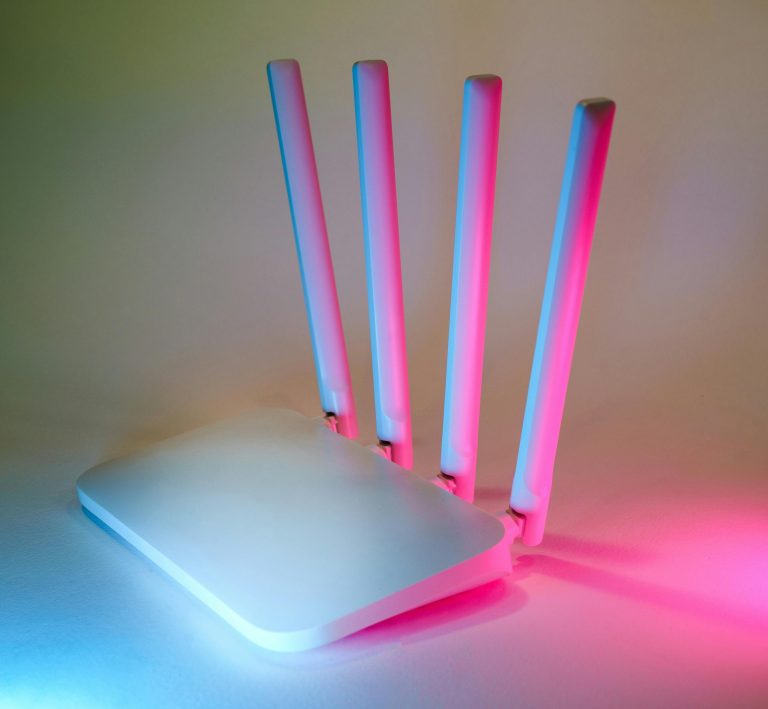
Method 2: Set Up a VPN on Your Router
If your Smart TV doesn’t support VPN apps, you can configure the VPN on your router. This will protect all devices connected to your network, including your Smart TV.
- Check if your router supports VPNs (most modern routers do).
- Log in to your router’s admin panel (usually via a web browser).
- Enter your VPN provider’s server details (provided in your account dashboard).
- Save the settings and restart your router.
- Connect your Smart TV to the router’s network.
Method 3: Share a VPN Connection from Your Computer
If you can’t install a VPN on your router, you can share a VPN connection from your PC or Mac:
- Connect your computer to the VPN.
- Enable internet sharing in your computer’s network settings.
- Connect your Smart TV to the shared network (via Wi-Fi or Ethernet).
Best VPNs for Smart TVs
Not all VPNs work well with Smart TVs. Here are some top recommendations:
- ExpressVPN: Fast speeds, easy setup, and reliable unblocking capabilities.
- NordVPN: Strong security features and dedicated Smart DNS for TVs.
- CyberGhost: User-friendly apps optimized for streaming.
- Surfshark: Affordable with unlimited device connections.
Tips for Using a VPN on Your Smart TV
To get the best experience, follow these tips:
- Choose the Right Server: Pick a server in the country where your desired content is available.
- Test Speeds: Some VPNs may slow down your connection—test different servers for optimal performance.
- Update Regularly: Keep your VPN app and Smart TV firmware up to date for security and performance improvements.
- Use a Wired Connection: For stability, connect your Smart TV to the router via Ethernet if possible.
Conclusion
Using a VPN on your Smart TV is a simple yet powerful way to enhance your streaming experience. Whether you install the VPN directly, configure it on your router, or share a connection from your computer, you’ll enjoy unrestricted access to content while keeping your data secure. Choose a reliable VPN provider, follow the setup steps, and start streaming safely today!


